
Weaving 302: Swatching
weave small before you go big
You do not have to swatch to have a perfectly wonderful weaving life. Go straight to the loom and dive in!
It was only after I had been weaving for a while that I found the value of playing around with my ideas on a small scale before sizing them up. It deepened my knowledge of how weaving works, yarn behaves, and structures are built. I became more confident about implementing my inspirations and had outcomes that better matched my vision.
These are the reasons I swatch:
In this course, you will learn the fundamentals of swatching or sampling—we will discuss how I see the difference between the two.
I’ll show you to how I use a frame loom to test my ideas for larger looms and discuss how you might approach sampling on the loom you are using now. I use a frame loom because it takes less yarn and I don’t have to do any complicated threadings to play around with a lot of structures.
You can use any frame loom available to you that gets you the results you want. My friend Angela Smith and I created a line of looms I’ll use in the course designed with the rigid-heddle weaver in mind.
We will explore how to chart out written rigid-heddle weaving instructions in order to swatch any structure, from plain weave to twill and beyond.
Finally, we will discuss how to evaluate your swatch after it's been woven—what is the information you are actually looking for, and how to track your results.
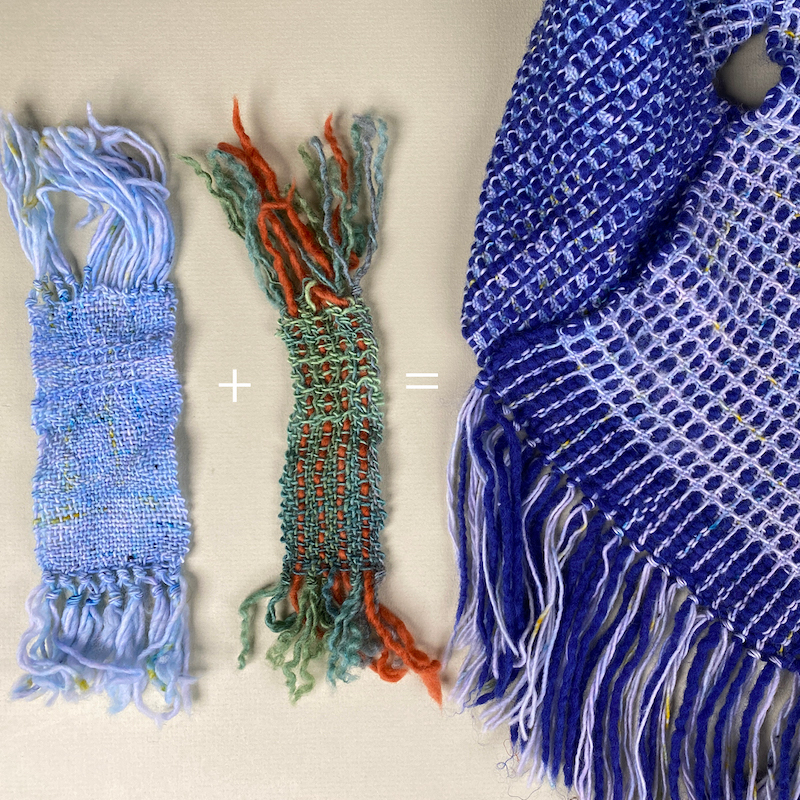
Throughout the class, I’ll use an example showing you how I went from inspiration to implementation and how swatching helped me get there.
Recommended Experience Level
Although this information is applicable to many loom styles, the Yarnworker space is designed to support the rigid-heddle weaver.
This course is most useful for the rigid-heddle weaver who has warped and woven a number of projects, is comfortable with rigid-heddle weaving terminology, knows how to read a rigid-heddle pattern, and is familiar with how pick-up sticks and/or heddle rods are used to create additional sheds.
Welcome to Weaving 302: Swatching
FREE PREVIEWMaking The Case For Swatching
FREE PREVIEWTools of the Trade
FREE PREVIEWInspiration: A Case Study
Resources
Warping Slots
Warping Holes: Swatch Maker 3-in-1
Multicolored Warps
Expanding Sett Options
Guesstimating Weft Length + Using a Weaving Needle
Using a Shed Stick
Using a Shuttle and a Pick-Up Stick
Weaving The Last Few Picks
Weaving Comparative Samples On the Swatch Maker 3-in-1
Removing and Documenting the Swatch
Securing the Fringe
Wet Finishing Tips
Creating a Chart Based on Rigid-Heddle Weaving Instructions
Identifying The Building Blocks of Structure: Repeats and Balance
Preparing to Pick-Up A Chart
Picking Up a Chart: Windowpane
Picking Up a Chart: 1/2 Color-and-Weave Twill
Handout: Creating Charts from Written Rigid-Heddle Weaving Instructions
Evaluating Your Results
Tracking and Storing Your Swatching
